
Asphalt paving is a long-lasting and inexpensive solution to use in driveways, parking lots, or private roads. Nevertheless, the performance of any asphalt surface within the long-term perspective is greatly dependent on the level of how the property was before the development. Omission or incomplete preparation stages may result in cracks, leakages, and early wear.
This asphalt paving pre-installation guide will take you by the hand through all you should know, such as site inspection up to the final preparation, in order to get your project off on the right foot. Being either a homeowner or a commercial property owner, you will not go wrong with the correct asphalt paving preparation guidelines, which will allow you to make the difference between an expensive error and a successful installation process.
The importance of Proper Preparation to Asphalt Paving
The surface upon which asphalt is to be placed must be well-drained, stable, and graded before it is overlaid with asphalt. If the property is poorly prepared to be asphalt-paved, it may lead to:
- Uneven surfaces
- Problems with standing water and drainage.
- Early cracking or potholes
- Reduced the service life of the pavement.
With the right preparation, asphalt will bond properly, evenly distribute the weight, and also resist weather and traffic degeneration.
Step 1: Assessments of the Site Conditions.
A site evaluation is one of the initial steps prior to the asphalt paving. This assists in determining the possible problems that may occur during installation.
What to Assess:
- Soil type and stability
- Current surface condition of pavement.
- Drainage patterns
- Slope and grading
- Underground utility lines or services.
Professional contractors usually carry out soil compaction tests and drainage tests in order to establish the kind of groundwork that is needed.
Step 2: Eliminate Surfaces and Obstacles that Exist.
When you are changing an old driveway or parking area, you will have to remove the old material. This comprises broken asphalt, concrete, gravel, or debris.
Key Tasks
- Demolish the old pavement.
- Decompose tree roots, rocks, and organic matter.
- Vegetation and topsoil are clear.
This is an important step in the process of preparing the driveway to be paved, since the resultant debris may compromise the new one.
Step 3: Control Drainage Problems in the USS
Drainage is also one of the least observed, but most crucial, of site preparations before paving with asphalt. The largest enemy of asphalt is water.
- Drainage Preparation Consists of:
- Drainage systems installation or adjustment.
- Having the right slope away from buildings.
- Avoiding the formation of water puddles.
- Adding edge drains if needed
Proper drainage will also prevent the erosion of the asphalt base as well as prolong the life of the pavement.
Step 4: Develop a Strong Subgrade
The layer of soil that is under the base of asphalt is the subgrade. When such a layer is weak or unstable, the asphalt will fail despite the quality of the surface.
Subgrade Preparation Steps:
- Compact the soil thoroughly.
- Substitute soil of low or saturated.
- Secure with lime or cement.
This is also a critical step when doing an asphalt paving checklist, since this affects durability.
Step 5: Installing and compaction of the base Layer.
The bottom layer- which is usually the crushed stone or aggregate- supports the asphalt.
Best Practices:
- Spread aggregate evenly
- Compact in multiple passes
- Assure that the traffic load is of the right thickness.
Where the driveways are involved, the base can be made thinner, and where it is needed on a commercial scale, they need to be made thicker in support. This is the main step in the process of how to prepare asphalt installation properly.
Step 6: Establish appropriate Edging and Borders
Edging assists in containing the asphalt and stops the asphalt from spreading or cracking at the edges.
Common Edging Options:
- Concrete curbs
- Stone borders
- Asphalt edging
Special attention should be paid to proper edging when the driveway is to be paved with asphalt, as edges tend to fail first without any reinforcement.
Step 7: Final Grading and Slope Check
Before the arrival of asphalt, final grading is required to be evaluated. This provides a surface that is smooth in terms of water runoff.
Final Checks:
- Make sure that the drainage slope is right.
- Make sure that there is easy access to roads or sidewalks.
- Eliminate low spots
It is among the most significant asphalt paving preparation guidelines because errors in this regard cannot be easily corrected once they are made.
Step 8: Co-ordination of Access and Scheduling
Plan logistics to ensure that there is no delay before paving day.
Before Asphalt Paving:
- Restrict vehicle access
- Notify tenants or residents.
- Give adequate access to equipment.
- Confirm weather conditions
Effective communication makes the installation smooth and efficient.
Step 9: Asphalt Paving Checklist.
Before commencement of installation, go through the final asphalt paving checklist:
- Site cleared and graded
- Drainage addressed
- Subgrade compacted
- Base installed and leveled
- Edging in place
- Access cleared
By filling in this checklist, you are sure that your property is ready to be paved with asphalt.
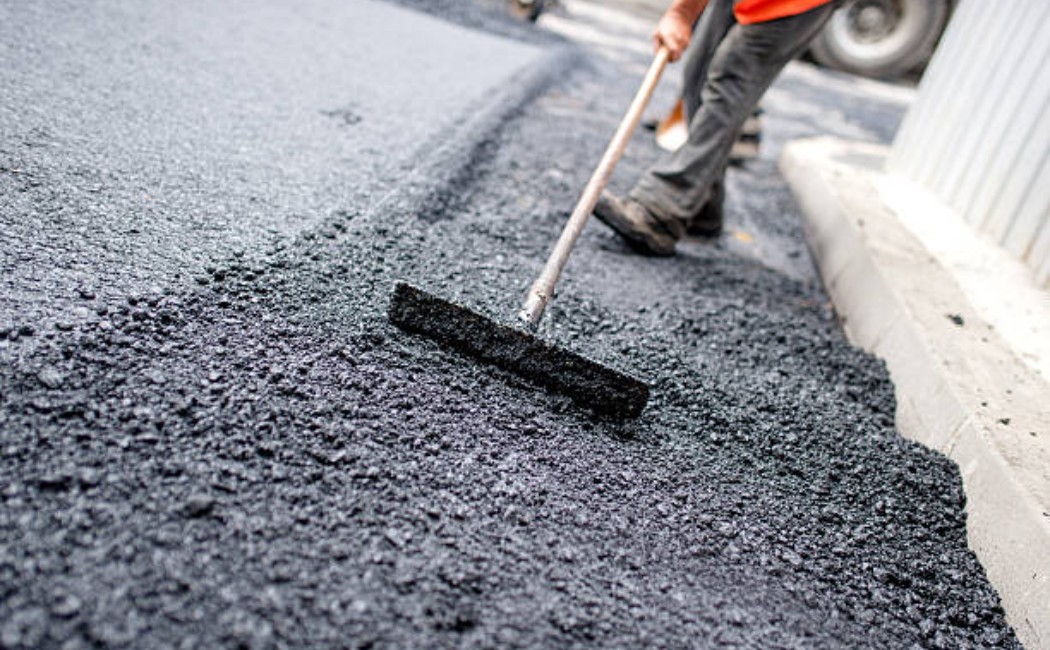
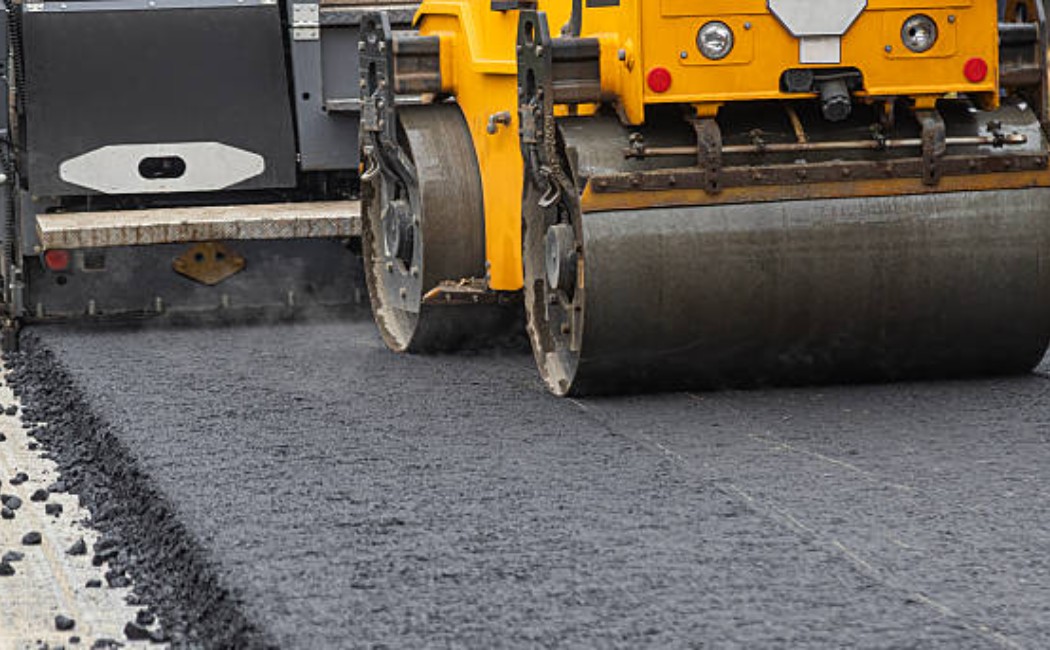
Step 10: Know What Goes on Paving Day.
This is due to knowing what to expect, and this reduces the stress and confusion.
On Installation Day:
- Asphalt is delivered hot.
- Apply by means of paving machines.
- Compacted with rollers
- Cured before use
Follow the instructions of the contractors on curing time and traffic restrictions after installation.
Mistakes to be avoided during the preparation.
Despite the good intentions, errors may occur.
Avoid These Errors:
- Skipping soil compaction
- Ignoring drainage issues
- Hurrying the preparation to save time.
- Allowing traffic too soon
The tips can be followed to ensure that the avoidance of such expensive issues occurs after the preparation of the asphalt paving.
Choose Jim’s Paving and Chip Sealing
Jim Paving and Chip Sealing is the best of workmanship in regards to professional Asphalt Paving, preparation of the work, through to its final installation. Our experienced team knows the importance of the appropriate site assessment, drainage design, and base construction to present long-term outcomes. Jim Paving & Chip Sealing gives you a residential driveway or business paving project that can be trusted and that you can count on, featuring smooth, durable asphalt surfaces that will last the test of time.

Summary Of The Blog
The proper preparation of the property is the key to a successful asphalt project. Site evaluation, drainage planning, base installations, and final grading are some of the steps that are crucial to long-term performance. Contacting Jim’s Paving & Chip Sealing for asphalt installation will help you prevent the typical problems and minimize the costs of repairing them, as well as making sure that your new surface will last many years. Time spent in good preparation is not merely clever; it is the only basis for good asphalt paving.
Frequently Asked Questions (FAQs).
What is the importance of preparing the property for asphalt paving?
Stability, drainage, and durability can be achieved by proper preparation, eliminating cracks, potholes,s and premature failure of pavement.
What is the time spent on asphalt paving preparation?
The preparation may require a couple of weeks or a few days based on the condition of the site, drainage requirements, and base work.
But what do I do before the commencement of asphalt paving?
Clear off, accessibility, drainage confirmation, and asphalt paving checklist with your contractor.
Is it possible to install asphalt on top of pavement?
Yes, but only in the case of a stable surface that is there. Otherwise, it must be removed and completely prepared as a site.
There is an urgent question: when can I use my driveway once it is paved with asphalt?
The light foot traffic is generally permitted within 24 hours, although the vehicles might have to wait for 48-72 hours under different circumstances.